Getting started with DatAds - Onboarding 👋🏻
Welcome to DatAds. In this article, you'll find all the relevant information you need to get started with DatAds.
There are 3 basic steps to fully set up your account:
- Logging in to DatAds
- Create your first connection
- Invite team
Before we get started, it is important to understand how DatAds is structured.
Basically, there is Workspaces, Clients and Members.
Workspace = Your DatAds account or company. From your workspace, you manage your clients and members.
Clients = In the case of an agency/solo marketer, your various customers. In case of a fire, your brand. If you only have one advertising account per platform, you effectively only have one client. If you have multiple advertising accounts, such as other countries, you can subdivide them at client level.
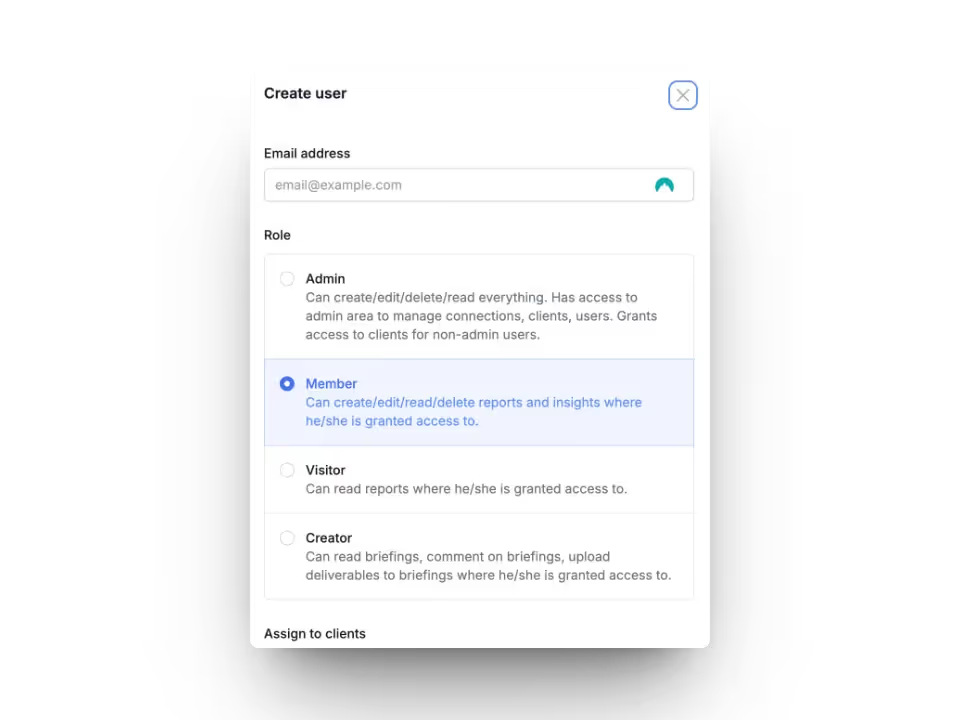
Members = Are your team members or employees. Choose between admin, member, and visitor.
More helpful articles:
- Identifying Winning Ad Creatives - Top Creative Reports
- Group Creatives by Similarities - Creative Comparison Reports
- Collect creative inspiration - Inspiration Boards
- Identifying patterns in creatives - Creative Cockpit & Testing Log
Logging in to DatAds
Go to datads.io and select “Sign Up” in the top right corner to start a trial or create an account. If your organization already has an account, ask your admin to send you an email invitation to join your workspace.
If you want to log into your existing account, you can do so directly via this link Do.
Create your first connection
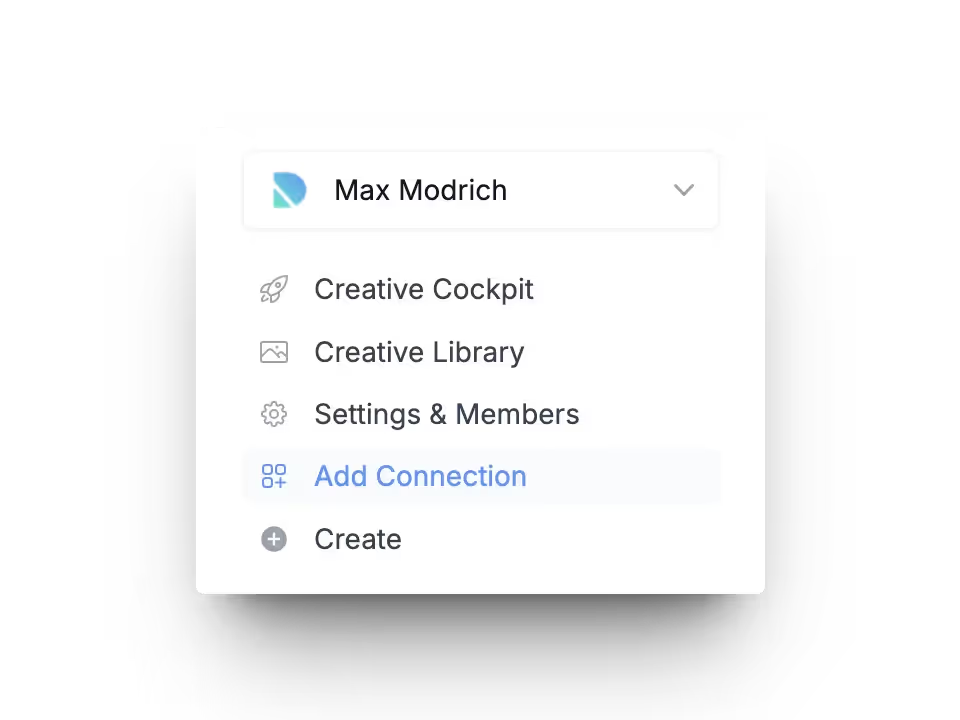
The first step is to create a connection to Meta and/or TikTok. To do this, navigate to “Add Connection” and choose the platform that's right for you.
- Click “Add Connection”
- Select the first platform to connect
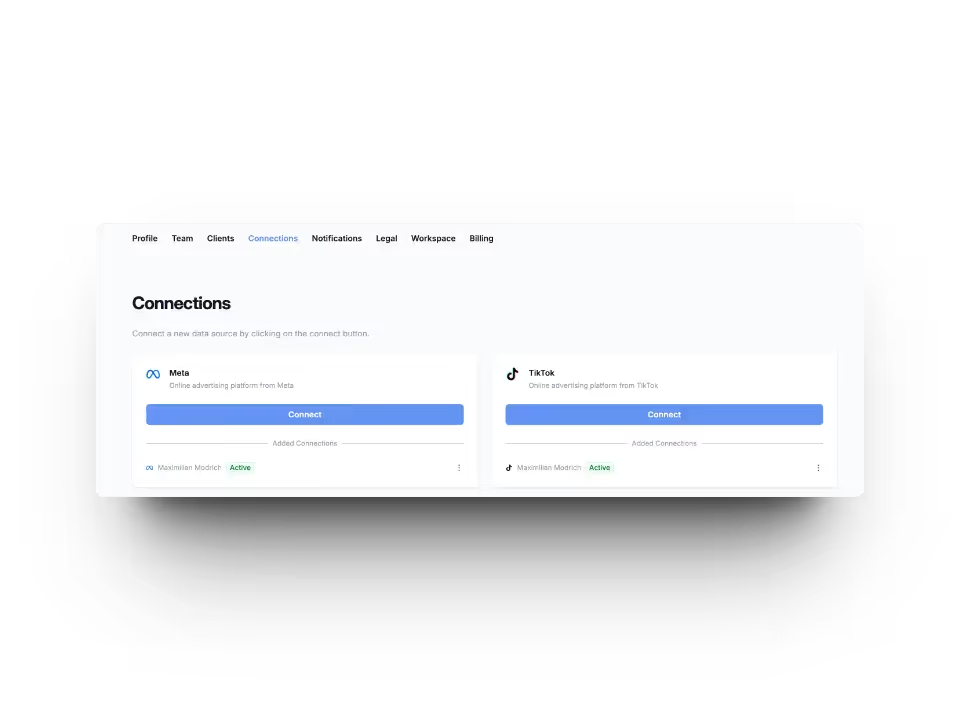
Follow the process on Meta/TikTok so that we can draw the initial data.
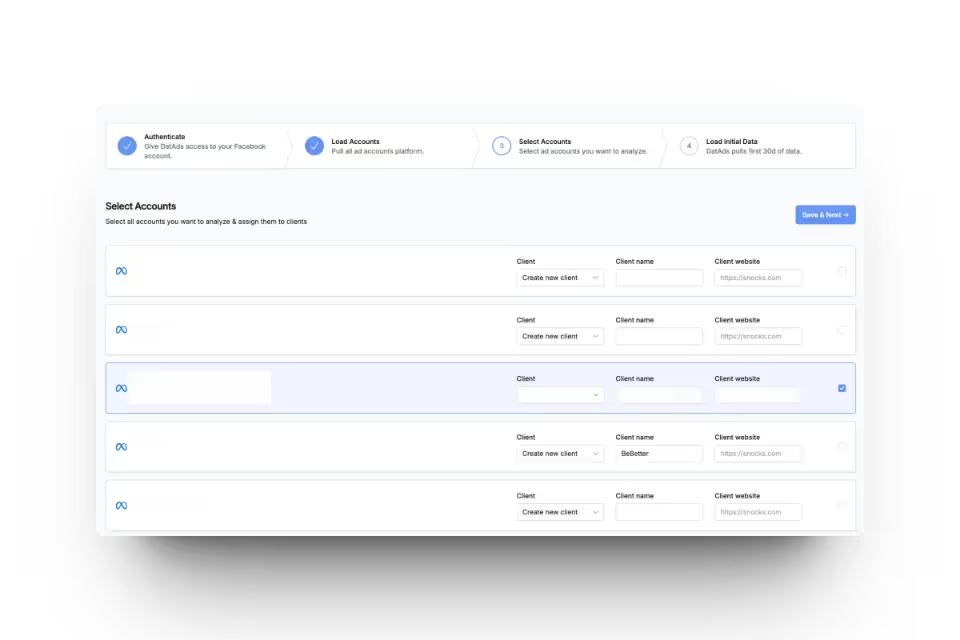
- Select your accounts
On the right, check the accounts that you would like to have in DatAds. About the client dropdown You can decide whether you want to create a new client or add it to an existing account.
Under Client name You can change the name of your client. In addition, you have the option of webpage to deposit. This will set your customer's favicon as the client logo.
Once you've selected all relevant clients, you can go to “Save & Next” click.
- Loading account data
After you on “Save & Next” If you have clicked, the first step is to draw the data from the last 30 days. This can take between 5-10 minutes. It's best not to close this window and stay on this page.
As soon as this data is loaded, you can use DatAds. The remaining data from last 12 months are retrieved by us in the background for you. At the latest after 24 hours should you have this data available in your account.
🔒 All of your data is first scrambled And then in a secure database saved. In the admin area, you can delete connections and the associated data.
Client system:
DatAds works with a client system. For example, if you connect Meta as the first data source, dataDS suggests creating a new client for each ad account. However, if you have multiple ad accounts for one of your customers, you can of course create a client once and assign it to the other ad accounts.
Since DatAds automatically creates the ad account name as a new client, all you have to do is select the drop-down menu under “Client” for advertising accounts that belong to the same client and assign it to the existing client.
The same applies to connecting additional data sources. If the naming of the ad accounts, for example on TikTok, is similar to that on Meta, DatAds recognizes this and assigns the TikTok advertising account to the existing client. However, please check whether this assignment is correct. This is the only way to ensure that the right ads end up with the right client.
Invite your team
Once you've successfully created your first connection, it's time to create your Invite employees. Because you can only benefit to the maximum from our solution if all people involved in the creative sector are invited to DatAds.
To do this, navigate to “Setting & Members”
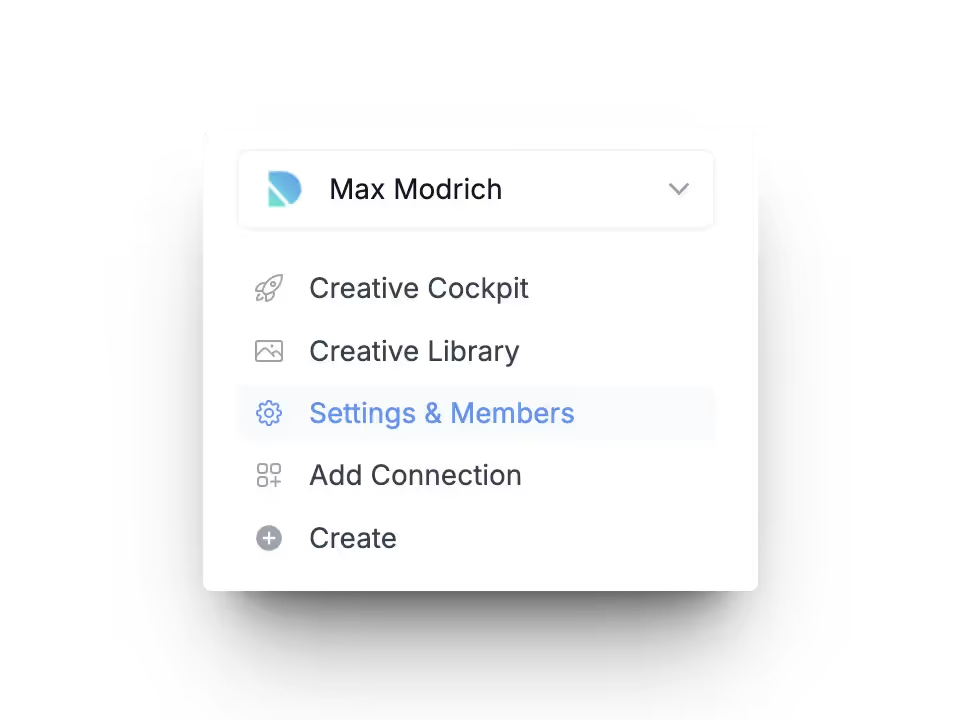
About “Add user” Can you invite your team members to DatAds. Select the appropriate role for the respective user. By default, all clients are assigned to new users. However, you can also only release individual clients for certain users. To do this, explicitly select the clients to assign.
Now that you've successfully created your first connection and invited your employees, you can start analyzing your ads right away.
These are the most important steps to get started with DatAds. Read the following article for more relevant information:
Mehr Artikel
Hier findest du weitere hilfreiche Artikel.

.avif)


